Đăng bởi
Do Huy
13/05/2026
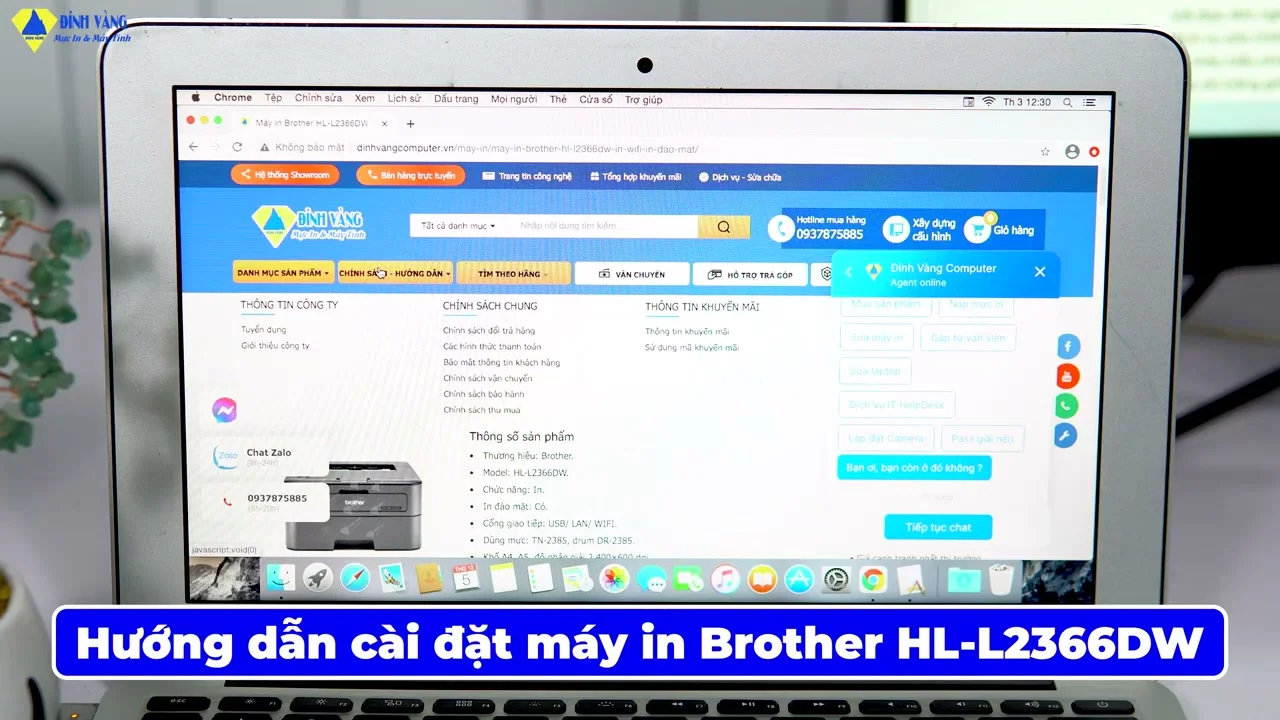
Install Brother HL-L2366DW Driver on macOS: A Full Guide
Setting up your Brother HL-L2366DW printer on a Mac is essential for unlocking high-quality printing and wireless features. This guide provides a clear walkthrough for macOS users to install official drivers and ensure stable device performance. By the end of this tutorial, you will have a fully functional printer connected via Wi-Fi or USB.
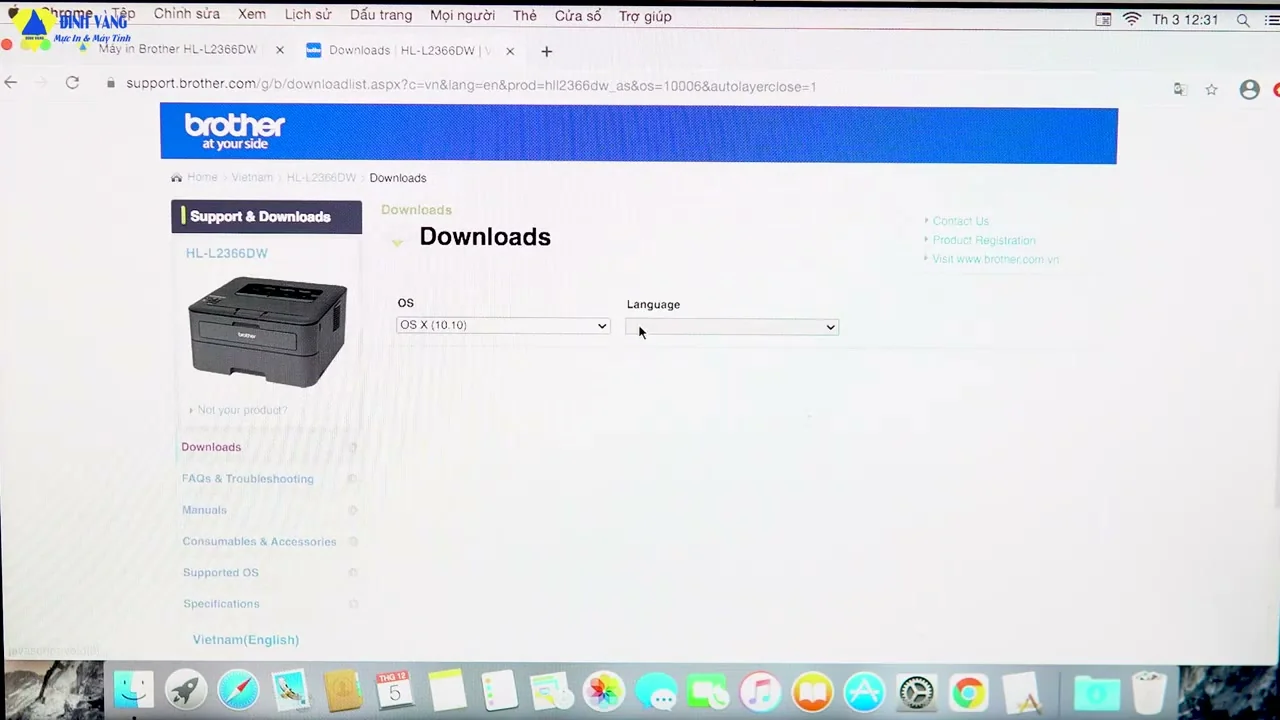
Locating the Official Driver
- First, open your web browser and navigate to the official “Brother Support & Downloads” website.
- Type your printer model, “HL-L2366DW”, into the search bar to find the specific product page.
- It is vital to use official sources to avoid malware and ensure the driver is optimized for your hardware.
- Note: Always verify that you are on the legitimate Brother domain before clicking any download links.
Confirming Your macOS Version
- Once on the download page, the site usually detects your “Operating System” automatically.
- Check if the detected version matches your current macOS (e.g., Sequoia, Sonoma, or Ventura).
- If the version is incorrect, manually select the proper one from the dropdown menu to prevent installation errors.
- This ensures that the “Driver Compatibility” is perfect for your specific Mac architecture.
Downloading the Software Package
- Look for the “Full Software Package” as it contains the driver and helpful status monitors.
- Click on the blue link, read the EULA, and then click “Agree to the EULA and Download”.
- Wait for the file to finish downloading to your “Downloads folder”.
- Choosing the full package is recommended over the basic driver to gain access to advanced maintenance tools.
Running the Installer Wizard
- Locate the downloaded file and double-click the “.dmg disk image” to mount it.
- Inside the window, double-click the “Start Here” or installer icon to initiate the setup.
- Follow the on-screen instructions and click “Continue” through the introduction and license screens.
- You may be prompted to enter your “Mac Administrator Password” to allow the software to make changes.
Choosing Your Connection Type
- The installer will ask how you want to connect your printer: “Wireless Network” or “Local Connection (USB)”.
- For convenience, select the wireless option and ensure your printer is turned on and connected to the same Wi-Fi.
- The software will search for the “Brother HL-L2366DW” on your local network.
- If using USB, simply plug the cable in when prompted by the installer screen.

Finalizing Printer Registration
- Navigate to your Mac’s “System Settings” (or System Preferences) and find “Printers & Scanners”.
- Click the “Add Printer, Scanner, or Fax” button represented by a plus (+) sign.
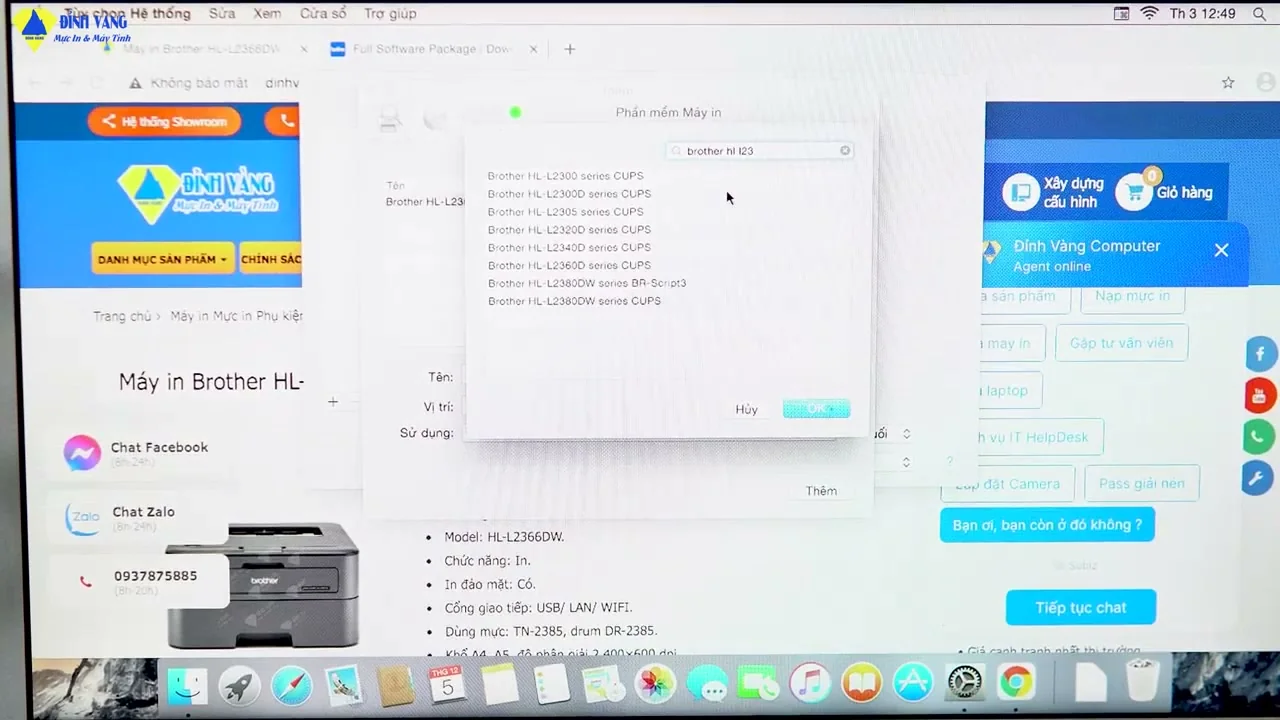
- Highlight the “Brother HL-L2366DW” from the list of detected devices and click “Add”.
- Make sure the “Use” field shows the specific Brother driver rather than the generic AirPrint driver for better features.
Verifying Success with a Test Print
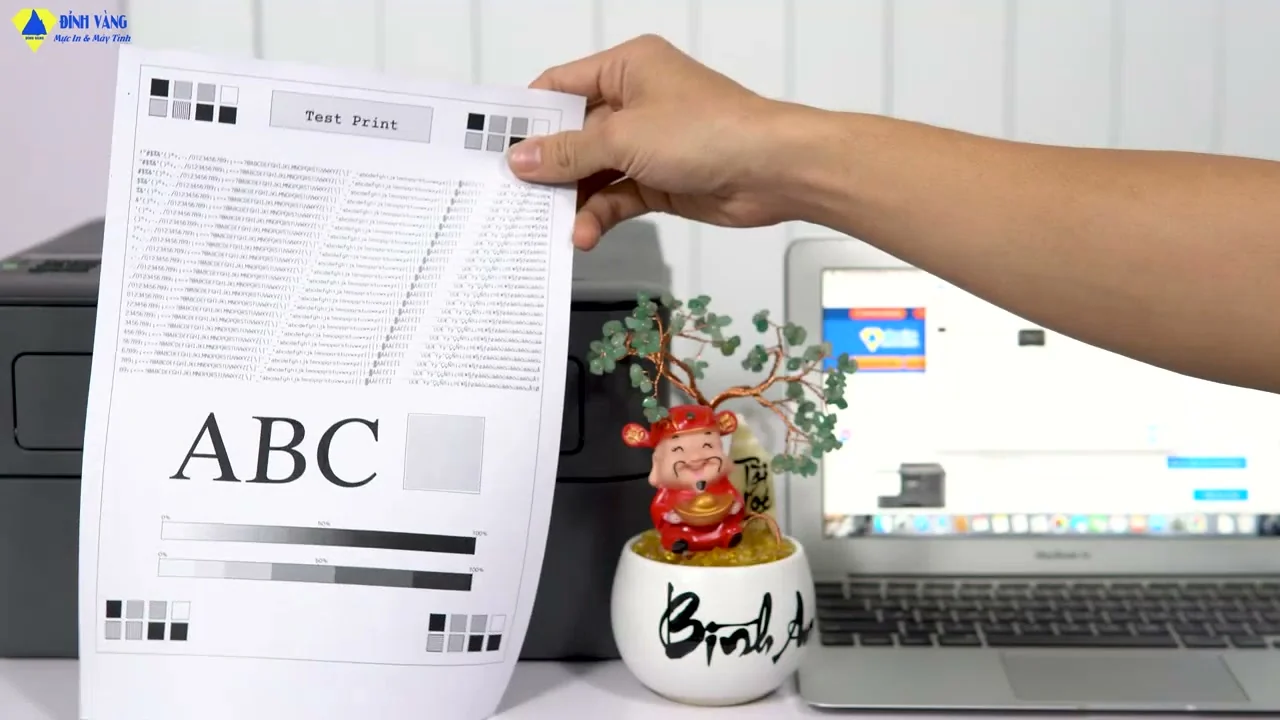
- To ensure everything is working, click on “Print Test Page” within the printer settings menu.
- Check the printer output to confirm the text is sharp and the “Connection Status” is stable.
- If the page prints correctly, your installation is complete and ready for daily tasks.
- Keep the installer file for a few days just in case you need to reconfigure settings.
By following these steps, you have successfully configured your Brother HL-L2366DW for macOS. For a visual walkthrough of these settings, be sure to watch the full tutorial video!