Đăng bởi
Do Huy
14/05/2026
How to Evaluate MacBook Air M1 Value in 2024 Guide
Deciding whether to buy an older laptop requires a systematic approach to ensure you aren’t wasting money. This guide provides a step-by-step framework to evaluate the MacBook Air M1’s relevance in the current year. It is perfect for students and professionals looking for a budget-friendly Apple Silicon experience.
Step 1: Inspect Exterior Build and Portability
- First, inspect the “aluminum chassis” for any significant dents or scratches that might affect structural integrity.
- Ensure the “wedge-shaped design” still feels portable enough for your daily commute.
- Check the hinge tension to see if it stays firm at various angles.
- Note: While older, this design is legendary for its “lightweight durability”, making it a top choice for mobile users who prioritize form factor.

Step 2: Verify Retina Display Quality
- Open several high-resolution images to check for “dead pixels” or backlight bleeding around the edges.
- Adjust the “brightness levels” to the maximum to ensure the 400-nit panel is still vibrant enough for outdoor use.
- Compare the color accuracy using a standard reference image.
- Remember that while it lacks ProMotion, the “Retina resolution” remains sharp enough for professional document editing and web browsing.

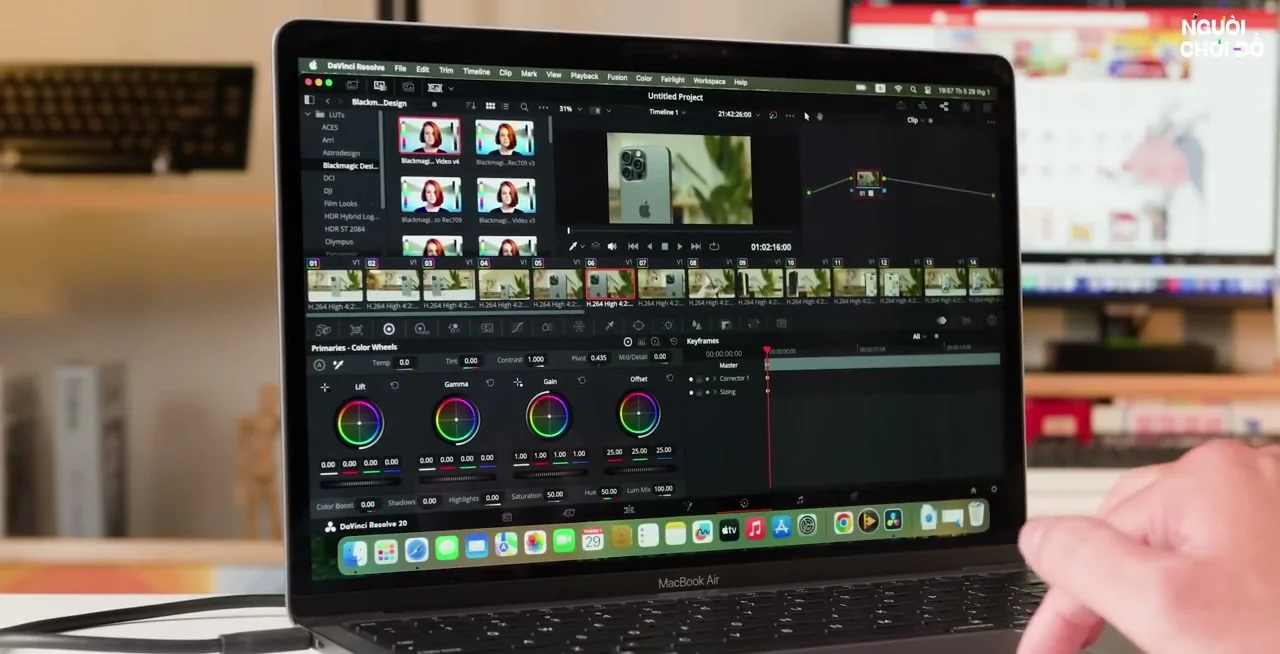
Step 3: Analyze M1 Processing Power
- Launch multiple apps like Safari, Slack, and Zoom simultaneously to test “multitasking capabilities”.
- Monitor the “Activity Monitor” to see how much RAM is being utilized during standard workflows.
- Run a quick browser benchmark to see if the “M1 Silicon” still snappy.
- You will find that for 90% of office tasks, the chip remains “highly efficient” and rarely shows signs of lag even years later.
Step 4: Test Battery Life and Thermals
- Navigate to System Settings to check the “Battery Health percentage” and cycle count.
- Run a 10-minute 4K video playback to see if the device becomes “uncomfortably warm” without a fan.
- Observe the battery drain rate during this stress test.
- A healthy unit should still provide “impressive longevity”, easily lasting through a full workday without needing a power outlet.

Step 5: Inspect Input Devices and Ports
- Type a full paragraph to confirm the “Magic Keyboard” provides tactile feedback on every key.
- Glide across the “Force Touch trackpad” to ensure there are no dead zones or erratic movements.
- Plug in accessories to both “Thunderbolt ports” to verify connectivity.
- Ensuring these physical components are in “prime condition” is crucial as they are the parts you interact with most frequently.

Step 6: Calculate the Final Value Proposition
- Compare the current asking price against the cost of a base model “MacBook Air M2”.
- Evaluate if the “price-to-performance ratio” justifies buying an older generation.
- Consider the expected years of “macOS software support” remaining for the M1 series.
- Ultimately, if the price is significantly lower than newer models, it remains the “best entry-level Mac” for most buyers today.

By following these six steps, you can confidently decide if the MacBook Air M1 fits your needs and budget. For a visual walkthrough of these tests, be sure to watch the full video!